Let’s Decorate Cookies!
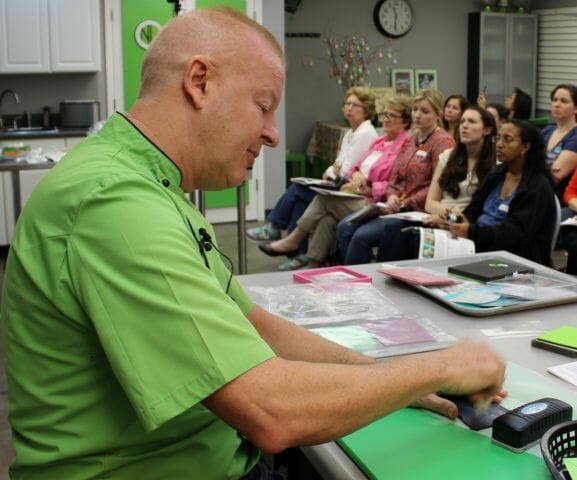
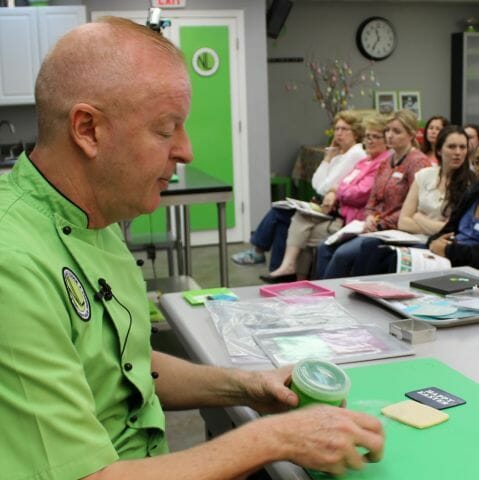
Hey guess what?! Today’s blog is a decorating TUTORIAL!!! Hooray! Chef Nicholas has decorated some really adorable cookies with an Easter theme, so I thought I would share them because Easter is this weekend AND the techniques easy! Best part, even though the techniques are easy the designs are sure to really impress all your friends, families and clients! Chef Nicholas demonstrated these cookies at our Spring Open House, and they were so popular among our guests, I knew I had to share it with all of you too!
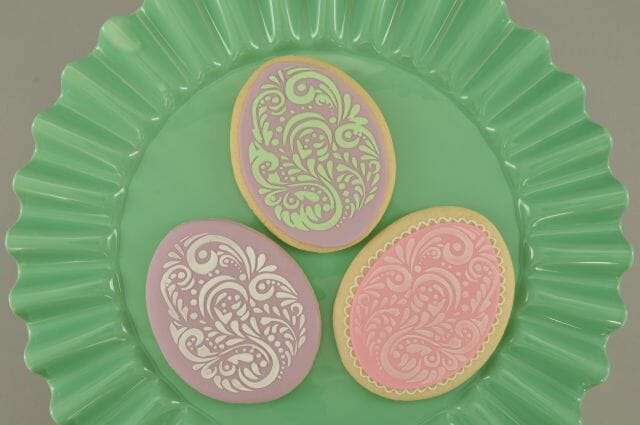
There are two styles of cookies that I will be sharing information on today, but both use the same basic method: Easter Egg cookies and Chalkboard Cookies. Yay, I love versatility! How about we start with the tools and supplies you will need for the Easter Egg Cookies.
Supply List- Easter Egg Cookies
Prepared Sugar Cookies
Royal Icing (flooding consistency) or Renshaw Decor-ice® Ready to Roll Fondant
Steps
1. Prepare cookies with flooded royal icing or cut out a Renshaw Decor-ice™ Ready-to-Roll Fondant veneer with the egg shaped cookie cutter (to match the cookie shape) and attach with piping gel. A third option would be to cover the cookie with fondant like you cover a cake! Spread piping gel over the cookie and lay the rolled fondant over the top; trim the edges with the mini palette knife. Let dry.
2. Place the stencil into the magnetic frame and place the frame and stencil over the cookie. Be sure that the stencil is flush with the surface of the cookie to ensure your design will not bleed. The magnetic frame can be flipped to accommodate thick or thin cookies.
3. Spread softened rolled fondant or royal icing (with a bit of white gel color added for opacity) over the stencil and cookie. Use the small blue scraper to spread and remove excess. Carefully remove the magnetic frame and stencil.

4. Instead of using softened rolled fondant or royal icing, an alternative method would be to create a pearlized design. Follow steps 1 and 2, then use the NL Pumpbrush, filled with super pearl luster dust, to brush over the stencil. Be sure that the cuff is locked down, using only the tips of the bristles.
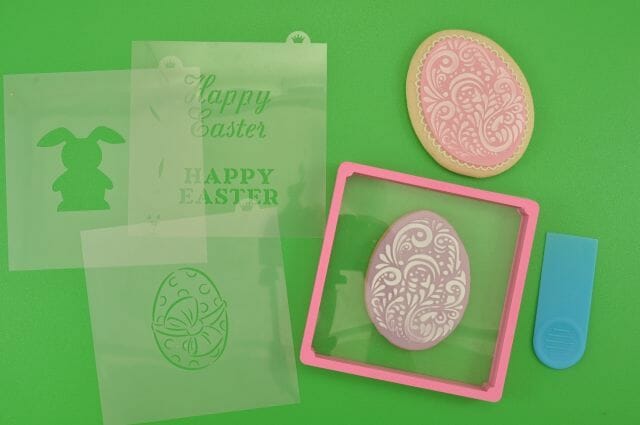
Here is a more clear shot of some of the stencils we carry, the magnetic frame (with a stencil inside, even though I know it’s hard to see!),
and small blue scraper. Photo: S. Ewing
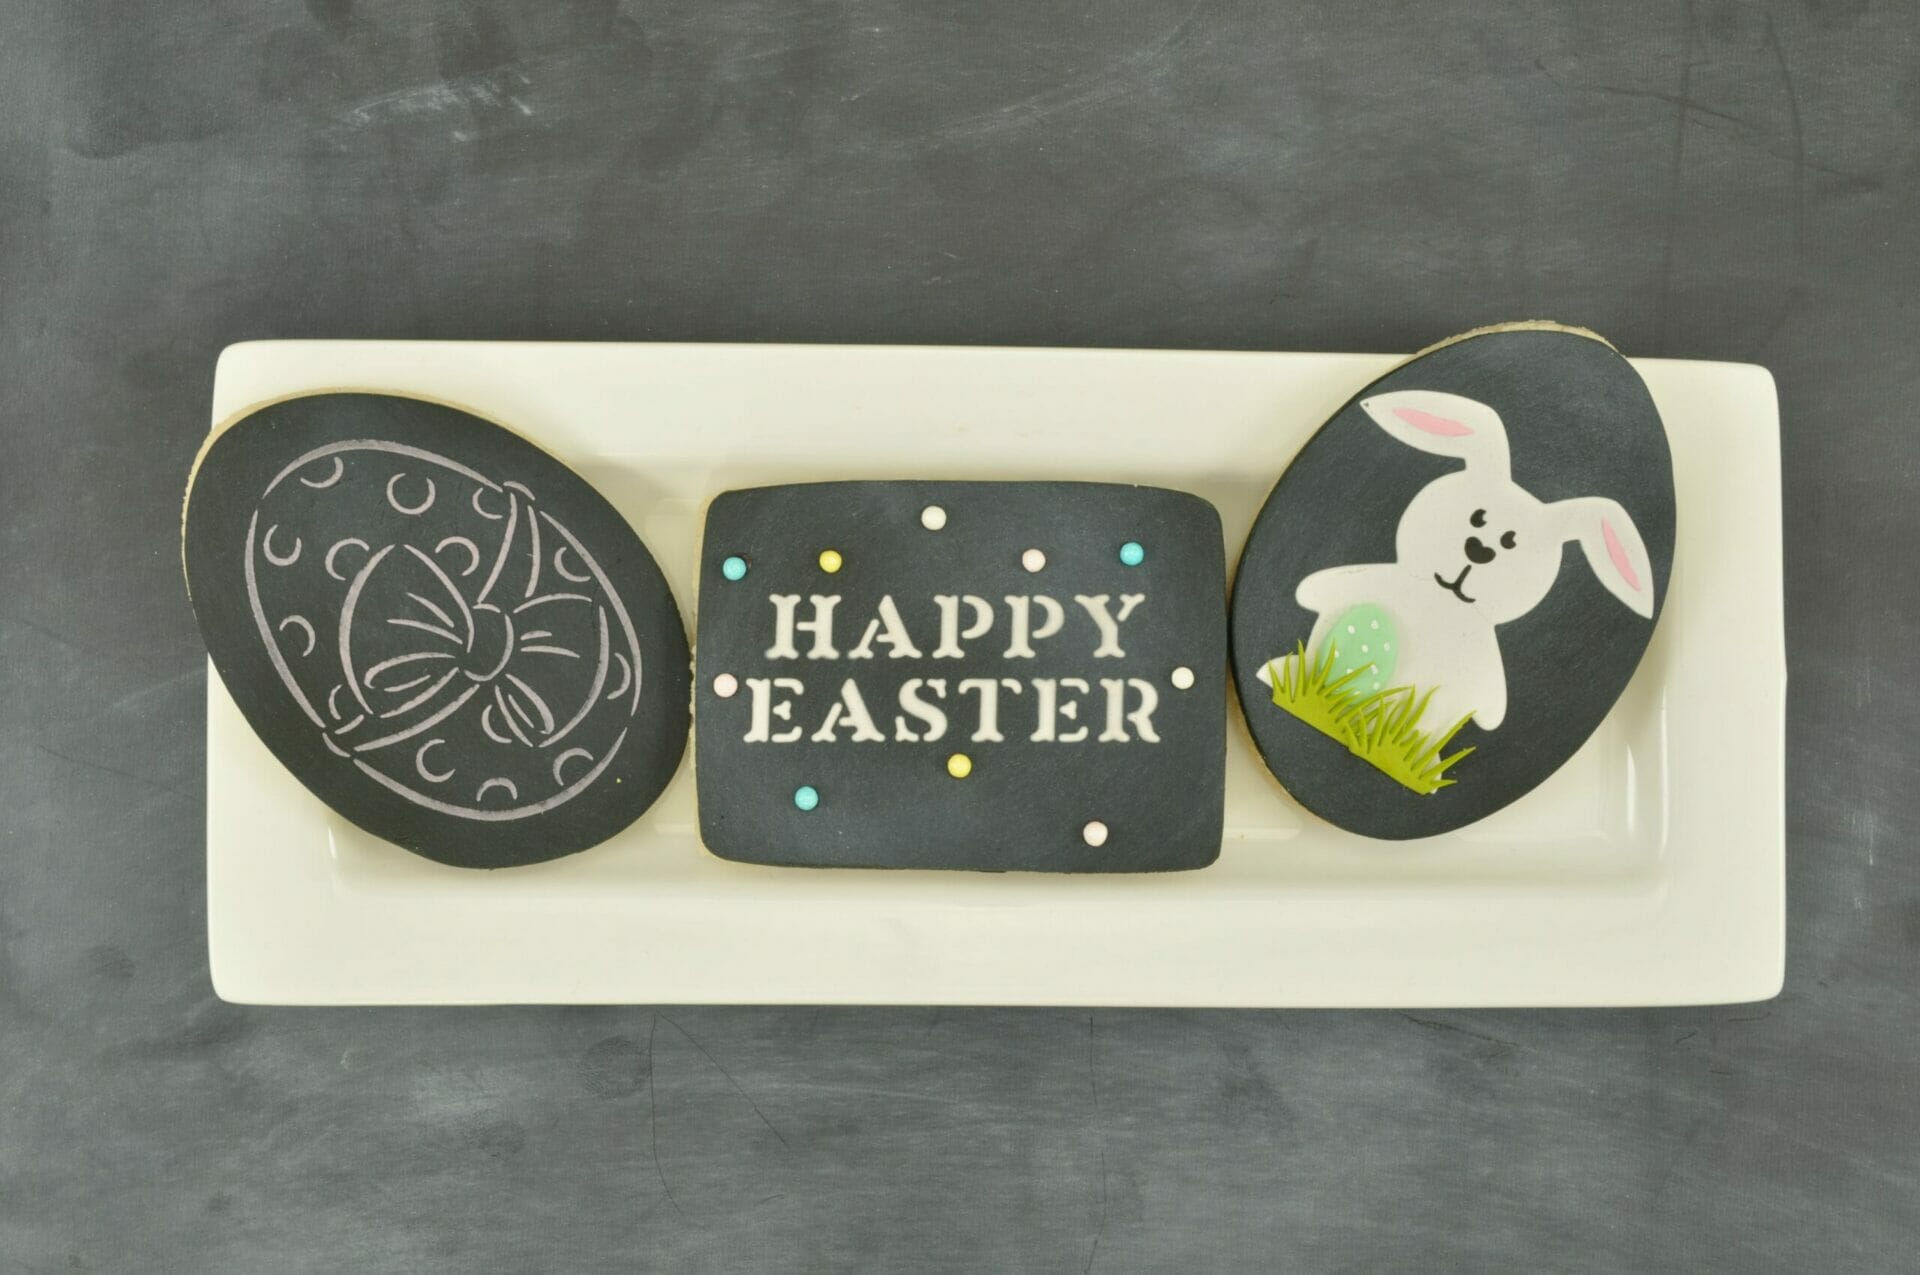
Next up are the Chalkboard Cookies that Chef Nicholas designed (you can see the photo at the top of the blog). The three stencils next to the frame in the photo above were used to create the chalkboard designs. The same basic techniques used on the egg shaped cookies were used on the Chalkboard Cookies, with a few differences. Don’t worry, I’ll share all the super-secret design tips with you!
Supplies- Chalkboard Cookies
Egg Shaped and Rectangle Shaped Cookie Cutters
Prepared Sugar Cookies
White Royal Icing or White Renshaw Decor-ice® Ready to Roll Fondant
Black Renshaw Decor-ice® Ready to Roll Fondant
Green Renshaw Decor-ice™ Ready to Roll Fondant™ Ready to Roll Fondant
White Powdered Food Color/Titanium Dioxide Powder
New CLEAN Chalkboard eraser or Cosmetic sponge
Small Blue Scraper or NL Flexi-Scraper
Countryside Silhouette Cutter Set
Steps- Chalkboard Egg
Since there are three different designs, I will list the steps for each cookie from simplest to most complicated, starting with the Chalkboard Egg cookie.
1. Roll out black Renshaw Decor-ice™ Ready-to Roll fondant, using the No. 1 setting on your pasta machine. Rub titanium dioxide powder over the surface of the fondant using a blackboard eraser or cosmetic sponge (or wedge). This will give the black fondant that chalkboard look… I don’t know if you have noticed, but it’s crazy popular right now.
2. Place the Easter Egg stencil right on top of the fondant, pressing the stencil gently onto the fondant using a cosmetic sponge (like the egg shaped cookies above, you want the stencil flush with your fondant to ensure you get a clean design!).
3. Soften some white Renshaw Decor-ice™ Ready-to Roll fondant with water and color with white and No-Fade Purple gel colors. Place the mixture over the stencil and spread with the small blue scraper or NL Flexi-Scraper. Be sure to scrap off the excess, Carefully remove the stencil and cut out the design using the same egg shaped cookie cutter used to cut out the cookie.
4. Attach the fondant to the cookie using piping gel, and impress everyone you know.
Steps- Chalkboard Rectangle
1. Follow steps 1 & 2 from above, replacing the Easter Egg stencil with the Happy Easter stencil.
2. Soften some white Renshaw Decor-ice™ Ready-to Roll fondant with water; add a few drops of white gel color to make it more opaque. Place the mixture over the stencil and spread with the small blue scraper or NL Flexi-Scraper. Be sure to scrap off the excess. Carefully remove the stencil and cut out the design using the same rectangle shaped cookie cutter used to cut out the cookie.
3. Attach to cookie using piping gel.
4. Make small cavities using the round end of the small stick, and add a dab of piping gel to each. Add a pastel dragee to each cavity using the beading tweezers.
Steps- Chalkboard Bunny
1. Follow steps 1 & 2 from Chalkboard Egg, replacing the Easter Egg stencil with the Bunny stencil.
2. Soften some white Renshaw Decor-ice™ Ready-to Roll fondant with water; add a few drops of white gel color to make it more opaque. Place the mixture over the stencil and spread with the small blue scraper or NL Flexi-Scraper. Be sure to scrap off the excess. Carefully remove the stencil and cut out the design using the same rectangle shaped cookie cutter used to cut out the cookie.
3. Attach to cookie using piping gel.
4. Once the bunny design has dried, add black softened Renshaw Decor-ice™ Ready-to Roll fondant to create the bunny’s face. Use a bit of white royal icing to add pupils to his eyes.
5. Use white royal icing or softened white Renshaw Decor-ice™ Ready-to Roll fondant (colored with a bit of white gel color and Ribbon Pink gel color) to create the details on the ears.
6. Roll out green Renshaw Decor-ice™ Ready-to Roll fondant on the No. 1 setting on your pasta machine. Cut out a circle with a large round plunger, stretch the circle a bit to create an egg shape. Attach the egg with piping gel, and add some polka dot details using white gel color and a toothpick.
7. To make grass for the cookie, color white rolled fondant with electric green and moss green gel color. Roll out on the No. 5 setting on your pasta machine. Use the grass cutter, from the Patchwork Countryside Silhouette set, to cut out two grass shapes. Remove the grass from the cutter with a pin, trim the base and attach to the cookie with piping gel.
8. Sit back and watch your friends oohh and aahh over your spectacular Chalkboard Cookies!
There you have it! Stunning cookies that are pretty easy to create! Now, I know I work for Chef Nicholas, the king of sugar art, but me… I like simple. After watching him make these cookies, I decided I need to make some for my Easter holiday! The best part is these cookies can be adapted to any occasion or holiday depending on the stencil! AND, because the magnetic stencil frame comes apart and is magnetic, any of the stencils we carry can be used inside the frame! My mind nearly exploded at all the possibilities!
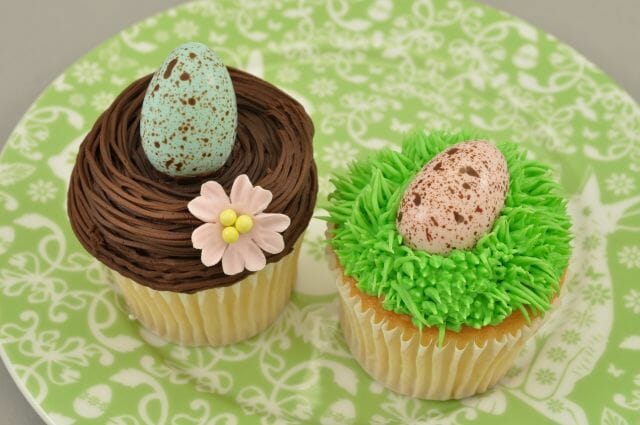
Oh, and because I am so thankful you all read the blog, I’ll throw in one more quick Easter tutorial! Easter Cupcakes! These would be great to make with kids, because the techniques are simple and straight forward. My kid is only 3, and he LOVES helping in the kitchen. I know he is going to want to make these with me.
Supplies- Easter Cupcakes
Grass Piping Tip (No. 233)
Chocolate Buttercream
Mint Green colored Buttercream
Pink Gumpaste
Cupcakes
Steps- Easter Cupcakes
1. Use grass tip (No. 233) with the chocolate buttercream to pipe a nest on one cupcake. On the second cupcake use the grass tip with the mint green colored buttercream to pipe a bed of green grass.
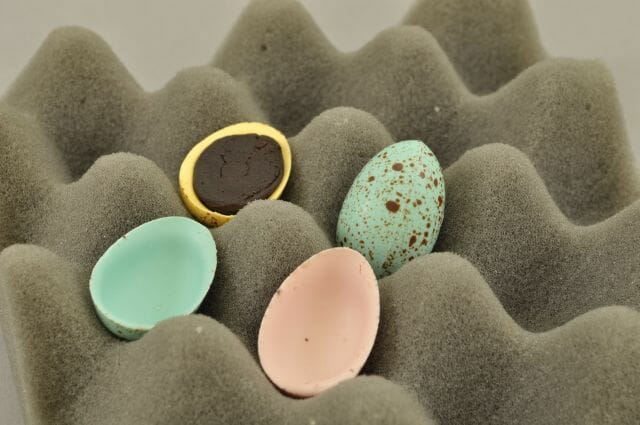
2. Attach a chocolate egg half to the nest and bed of grass cupcakes (using a warmed baking sheet, you can gently warm two halves to create a complete chocolate egg). If you are feeling REAL daring, you can even fill the two egg halves with ganache before attaching them together! Ooh, or ganache with crispy rice mixed in!
3. Using the No. 4 setting on your pasta machine, roll out some pink gumpaste. Cut out a small Primrose, work the edge with a Dresden Tool. Attach the primrose to your cupcakes with a bit of piping gel. Hollow the center of the flower with the Medium Ball tool. Add a dab of piping gel to the hollowed out center and attach three yellow dragees from our Pastel Dragees.
Well, I hope that Chef Nicholas and the ISAC team has given you some inspiration for some fun Easter desserts to make for this weekend! And As I said, those cookie design techniques can be adapted to any holiday or occasion… I see loads of stenciled cookies in my future!
Sweetly yours,
Stephanie
Don’t just follow our blog! Follow Chef Lodge on Facebook, Instagram, Pinterest, Twitter, Flickr, and Tumblr!

Winner of the 2015 Craftsy Blogger Award for Best Craftsy Cake Decorating Instructor Blog
I have recently ventured into the cookie world and I am thrilled to see Chef Lodge doing the same! It makes me feel better about veering away from cakes some of the time. I never thought about using thinned fondant to stencil with, but what a great idea and one that I will be using in the future! Please tell Chef thank you from one of his biggest Texas fans!